
VFM Release Notes as of January 25, 2018
Posted January 25, 2018 by Katelyn Sabatini, President
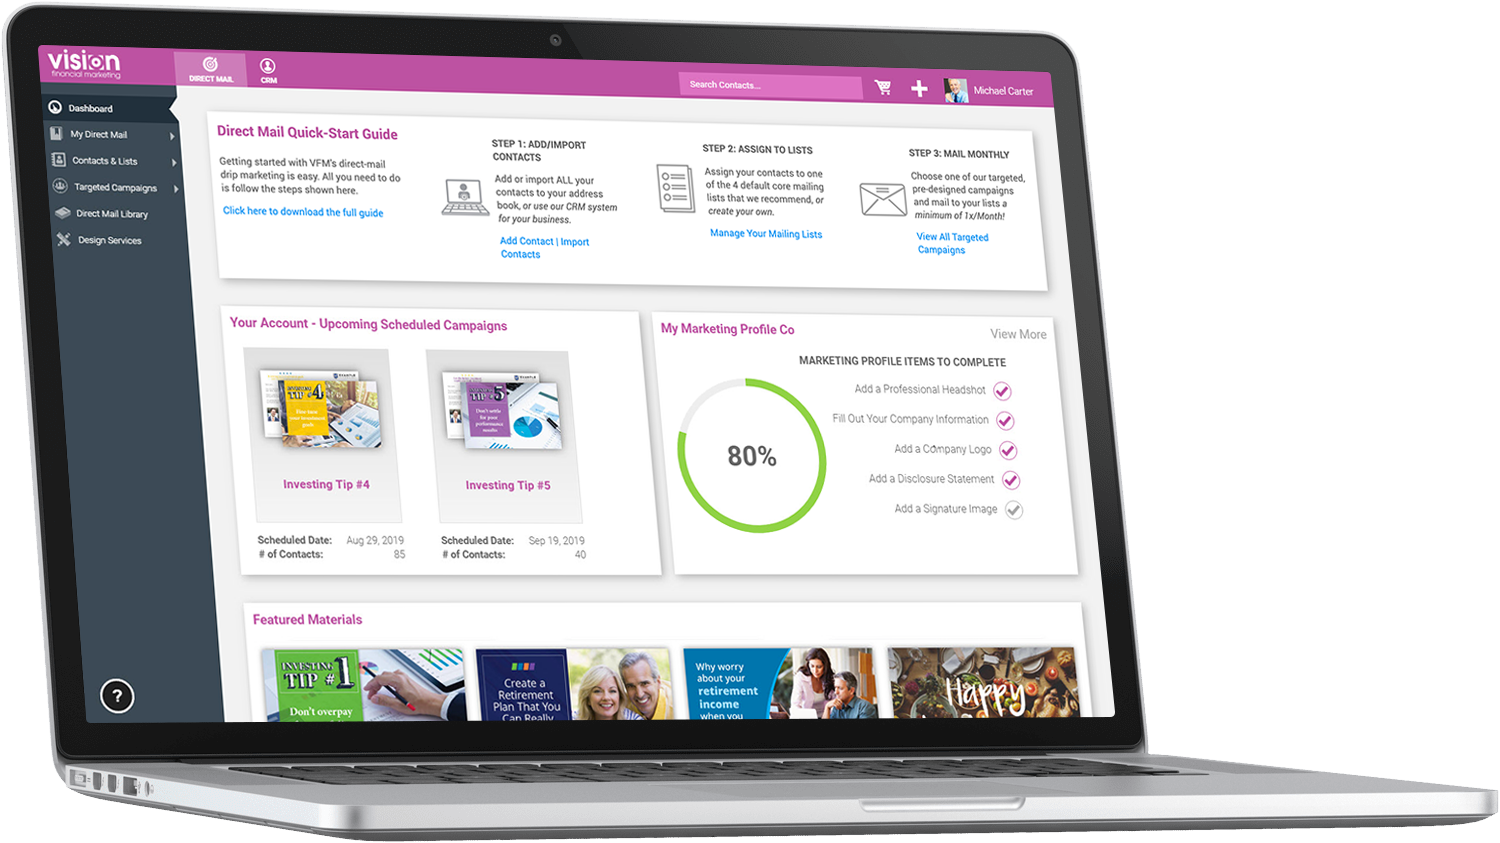
At VFM, our team is always working hard to improve and enhance our system to help make your lives a little easier. Here’s a peek behind the screen and a recap of what the team has been working on lately!
Saved Filter Settings
We’ve implemented new functionality so the system will now remember your filter settings upon logging out or refreshing your browser. Previously, performing these actions would result in the system resetting the filters to the default selections causing some extra work to put them back just right again.
Now, you are able to setup specific page views to show the exact data you are interested in seeing and it will remain in that view until you change it again. For instance, you can select specific user’s calendars to view or set your Sales Pipeline to only show scheduled appointments. However you’d like to view your data, you can, and the system will remember those settings for you.
Social Security Number Encryption
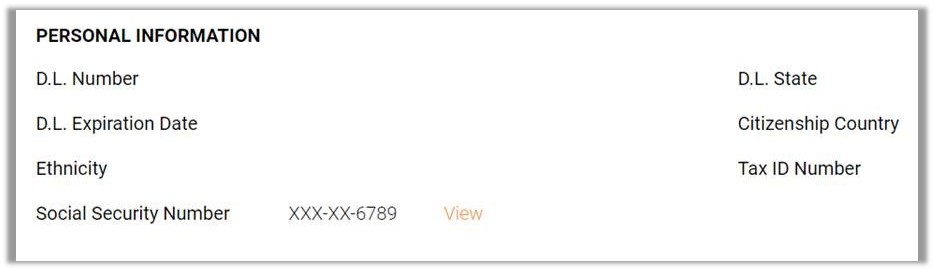
We’ve stepped up our security measures when it comes to Social Security Numbers stored in your VFM database. Not only are the numbers encrypted behind the scenes in the database, they also now only appear in the Account Owners VFM account, and default to a hashed view of the number.
Default SSN View:
Click to view the full number or edit it and then hide it again:
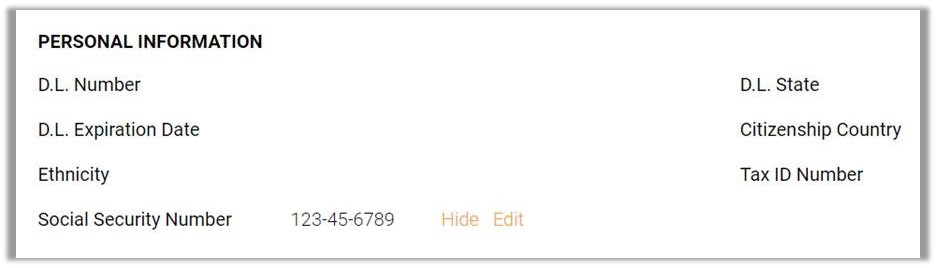
Additionally, if you print the Contact Profile screen, only the last 4 digits of the SSN will print.
User-Defined Custom Fields
We understand that not every user stores exactly the same contact data in the system. To accommodate this, we’ve built the ability for users to create their own custom fields to track exactly the information you are interested in seeing.
To add these custom fields to your contacts’ profiles, begin by creating them in your Admin section, under Custom Defined Fields:

You will have the option to add a variety of different field types, from dropdown lists to textarea fields such as a note:
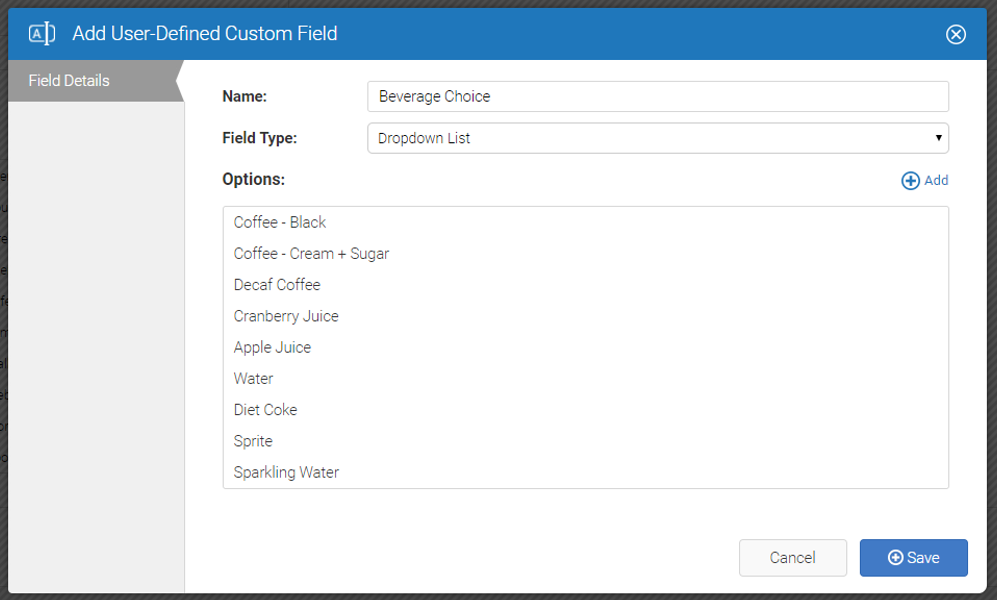
Start by naming the field, then select the field type:
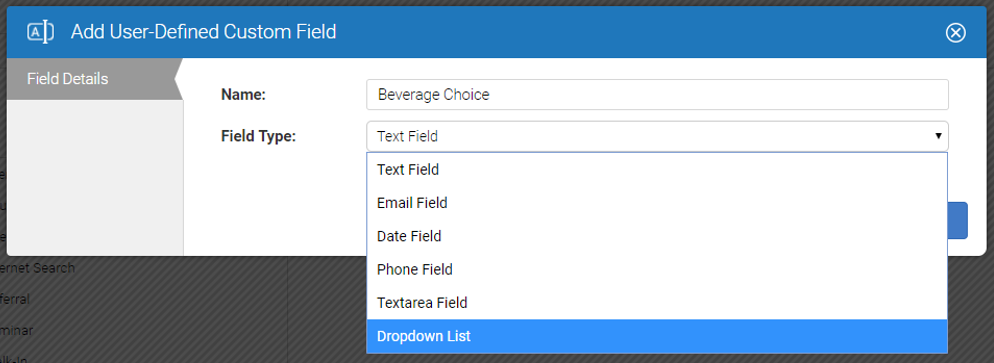
For dropdown lists, you’ll need to input the options to select from. Let’s start by naming the field – we’ll create one for Beverage Choice, as an example. You’ll then want to enter in all of the options your clients can choose from when visiting your office (like Coffee, Water, Juice, Soda) then click Save.
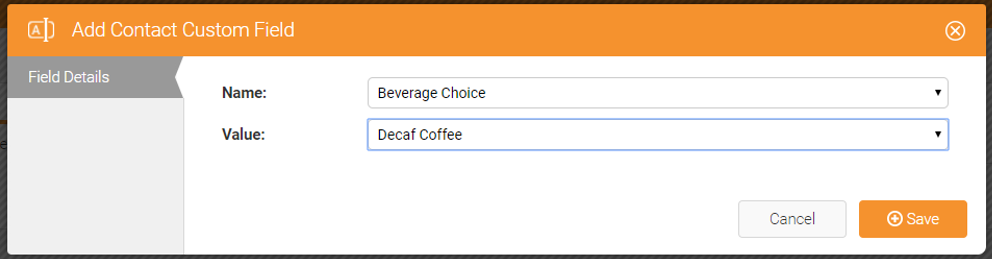
Once you have your custom fields saved, you’ll want to apply them in your Contact’s Profile within the Custom Fields tab:

Choose the appropriate option for that contact and hit save (if your custom field is anything other than a dropdown, you’ll just have to type the value in here).
Now you can quickly and easily see your client’s beverage choice before they arrive for their appointment:
As always, we truly appreciate your feedback. The reason we do this every day is to help financial advisors to manage and grow their businesses. It is because of your support that we are able to continually improve our system and delight our users.
Any feedback you have, please let us know at support@vfmteam.com.
Cheers!

Katelyn Sabatini

